Connecting to Evo#
Wired#
Connect the Evo via the Type-C port to your computer. The COM Port will be shown in the IDE.
Selecting Board & Port#
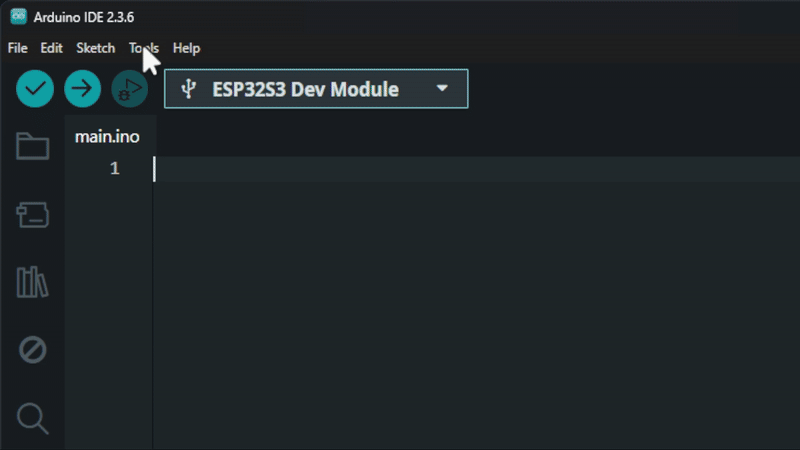
Arduino
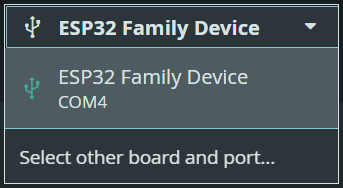
Connect the EVOX1 to the computer and turn it on. A new port will appear in the drop down on the top left corner
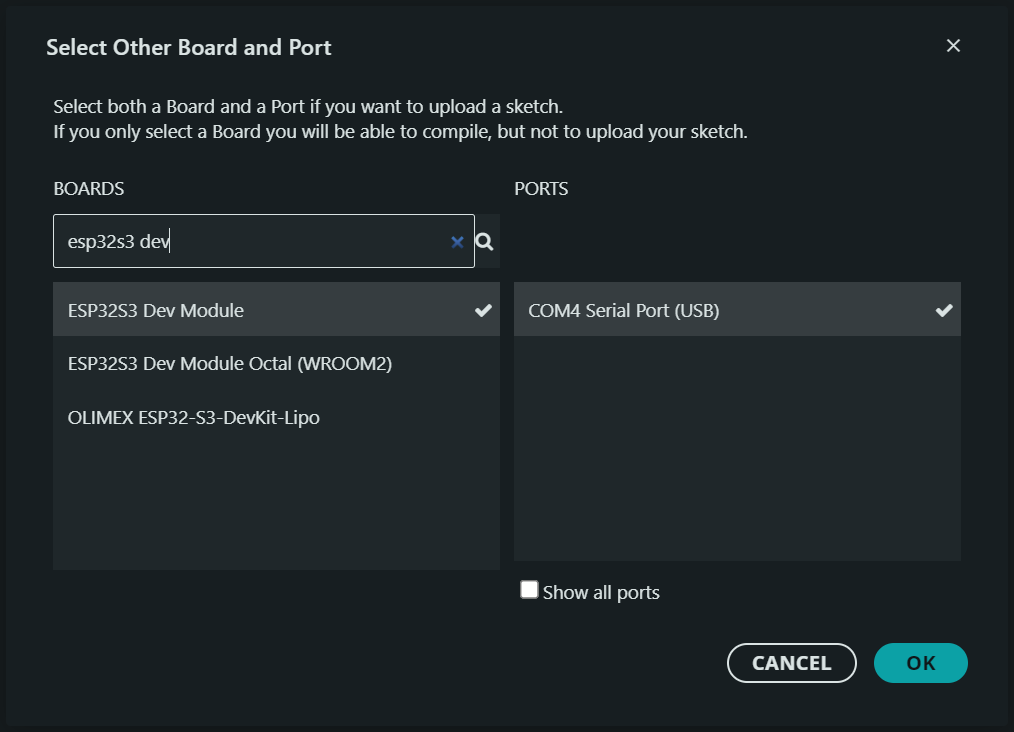
Click on Select other board and port…
Search for ESP32S3 Dev Module and make sure that the correct COM Port is selected
PlatformIO
By default, PlatformIO can recognise ports and will automatic set COM port for you (Auto). If you wish to specify the port, you can select them from the PlatformIO Toolbar.
PlatformIO: Home
PlatformIO: Build
PlatformIO: Upload
PlatformIO: Clean
PlatformIO: Serial Monitor
Set Port [Select This]

Enabling USB Serial Port#
The EVOX1 uses the USB peripheral pins for program upload and serial communication.
Arduino
To enable the serial port, click on tools USB CDC on Boot Enabled
PlatformIO
To enable the serial port, include this line at the end of the code in platformio.ini
build_flags = -DARDUINO_USB_CDC_ON_BOOT=1

monitor_speed = 115200
upload_port = COM4
monitor_port = COM4
Bluetooth#
Bluetooth Classic VS BLE#
The ESP32S3 Dev Modules has a built-in BLE capabilities. A Bluetooth Classic module, HC-05 is also added onto the Evo to give the device bluetooth classic capabilities.
Bluetooth Classic is good for sending a lot of data continuously, like in wireless speakers or when connecting to a robot for real-time control. The bluetooth module supports the Serial Port Profile (SPP), which lets devices send serial (UART) data wirelessly—very useful in robotics and embedded systems.
Bluetooth Low Energy (BLE), on the other hand, is designed to save power. It’s better for devices that only need to send small amounts of data once in a while, like fitness bands or sensors. BLE doesn’t support serial communication directly, so it needs extra setup to send data like UART.
Key Differences:
Bluetooth Classic: Higher speed, more power usage, supports wireless serial (SPP).
BLE: Lower power, slower speed, no native serial support.
When to Use:
Use Bluetooth Classic for things like live control or audio.
Use BLE for low-power devices that don’t need to send data all the time.
Naming the Evo#
Ensure the Bluetooth module is working by observing how the LED behaves. See the behaviours in On-Board Peripherals.
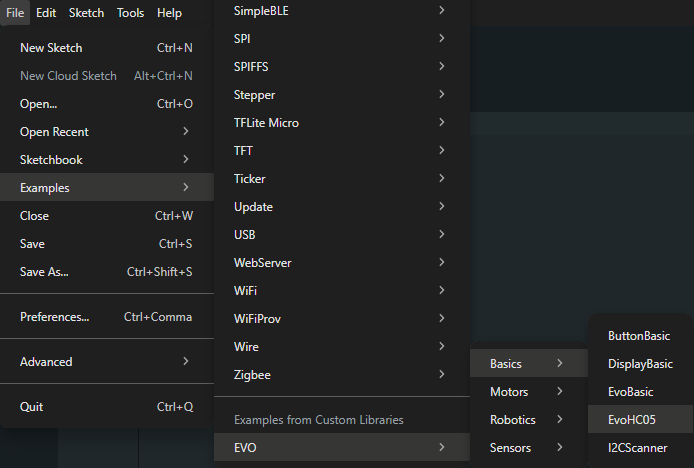
Open the EvoHC05.ino program
Arduino:
Click on Files Examples EVO Evo Basics EvoHC05
PlatformIO:
Navigate to
lib\Evo\examples\Basics\EvoHC05.
Note
Ensure to copy the code into the src/main.ino file, as PlatformIO only compiles the code in the src folder.
In the program, you are able to change the name of the Evo by editing the DEVICE_NAME. Doing so will allow you to identify the Evo from your computer.
Debugging the Bluetooth Connection#
When you upload the EvoHC05.ino program, the Evo will start to communicate with the Bluetooth module. A series of text will appear on the OLED screen which allows you to monitor the connection status.
Display Text |
What it means |
|---|---|
|
Switched to AT command mode |
|
Waiting for AT response from the module |
|
Module is responding |
|
Successfully reset to factory defaults |
|
Device name was (or wasn’t) updated |
|
Baud rate update success or failure |
|
Switched to normal Bluetooth (communication) mode |
|
Setup process is complete |
Note
If you did not managed to reach the end, this means the BT module is not working or the connection is not successful
Open Bluetooth & other Devices Setting on your computer
⌘ + A (Windows)
Turn on Bluetooth, and connect the Evo of the selected name. Ensure the Blue LED is blinking once every 2 seconds (Bluetooth Connected).